
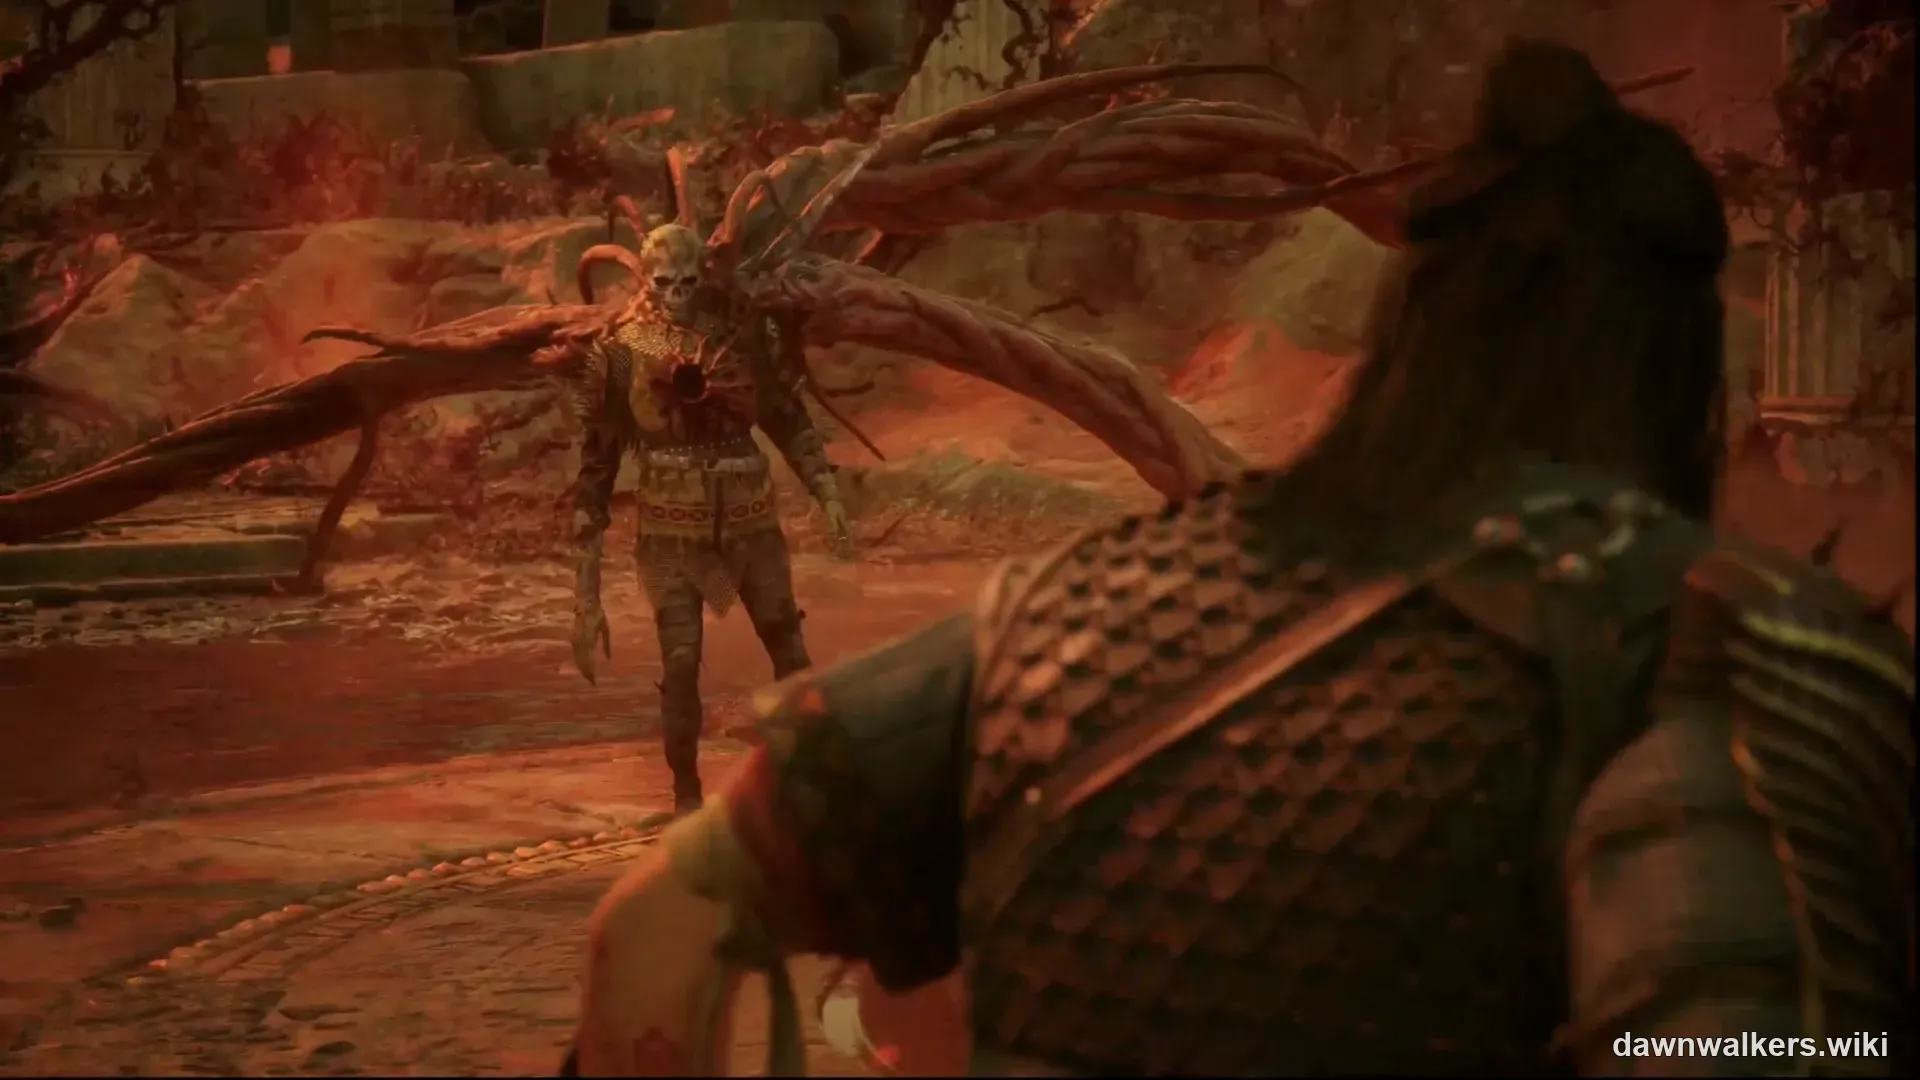
Brencis, the Knyaz of Vale Sangora, is the final boss of The Blood of Dawnwalker, and the whole fight comes down to one skill: read the mark before you commit. Shield-marked attacks are parried, skull-marked attacks are dodged — and in Phase 1, the red wraiths he summons will kill you faster than Brencis will. Phase 1 is inside Greifberg Castle, Phase 2 in Anachora, both pinned on the world map. The final fight prep guide covers build state and time budget, and the boss wiki holds his full profile; this page is the fight mechanics.
Location and entry options
The final confrontation spans two arenas: Greifberg Castle for Phase 1, Anachora for Phase 2. There are three ways in:
- Skip the parley. Choose “Enough. Time to end this” for the solo route.
- Secret knock. Direct side entry to Greifberg Castle via Father Florin’s quest In the Name of the Father.
- Side Gate Key. Looted from Georghe, The Rabid Duke.
Before you fight
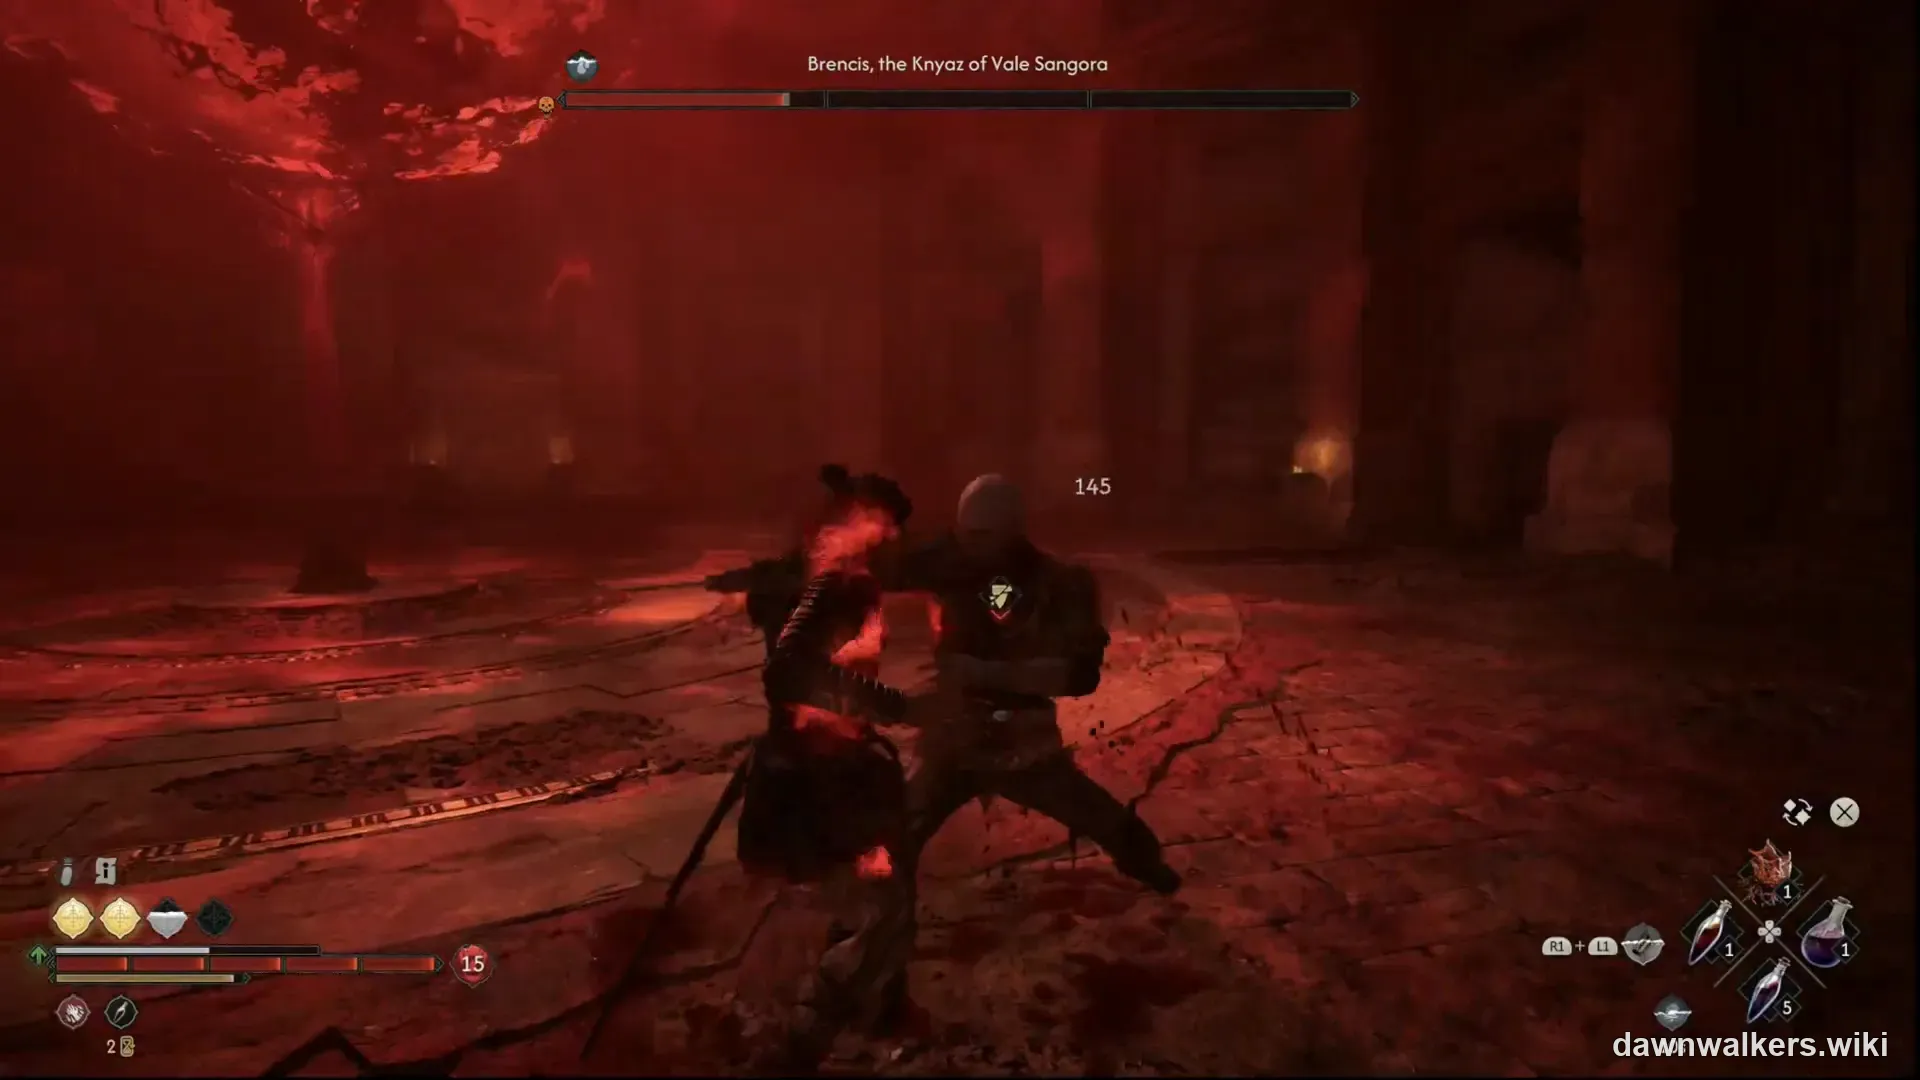
- Allies are Phase 1 only. If you brought Lacra or Crake, they fight alongside you inside Greifberg Castle. The Anachora teleport leaves them behind — you face the Grotesque Ascendant alone.
- Expect two different fights. Phase 1 is a crowd fight disguised as a duel; Phase 2 is a pure execution test with a fresh, more aggressive move set.
How to beat Brencis: fight tips
Read the mark before you commit
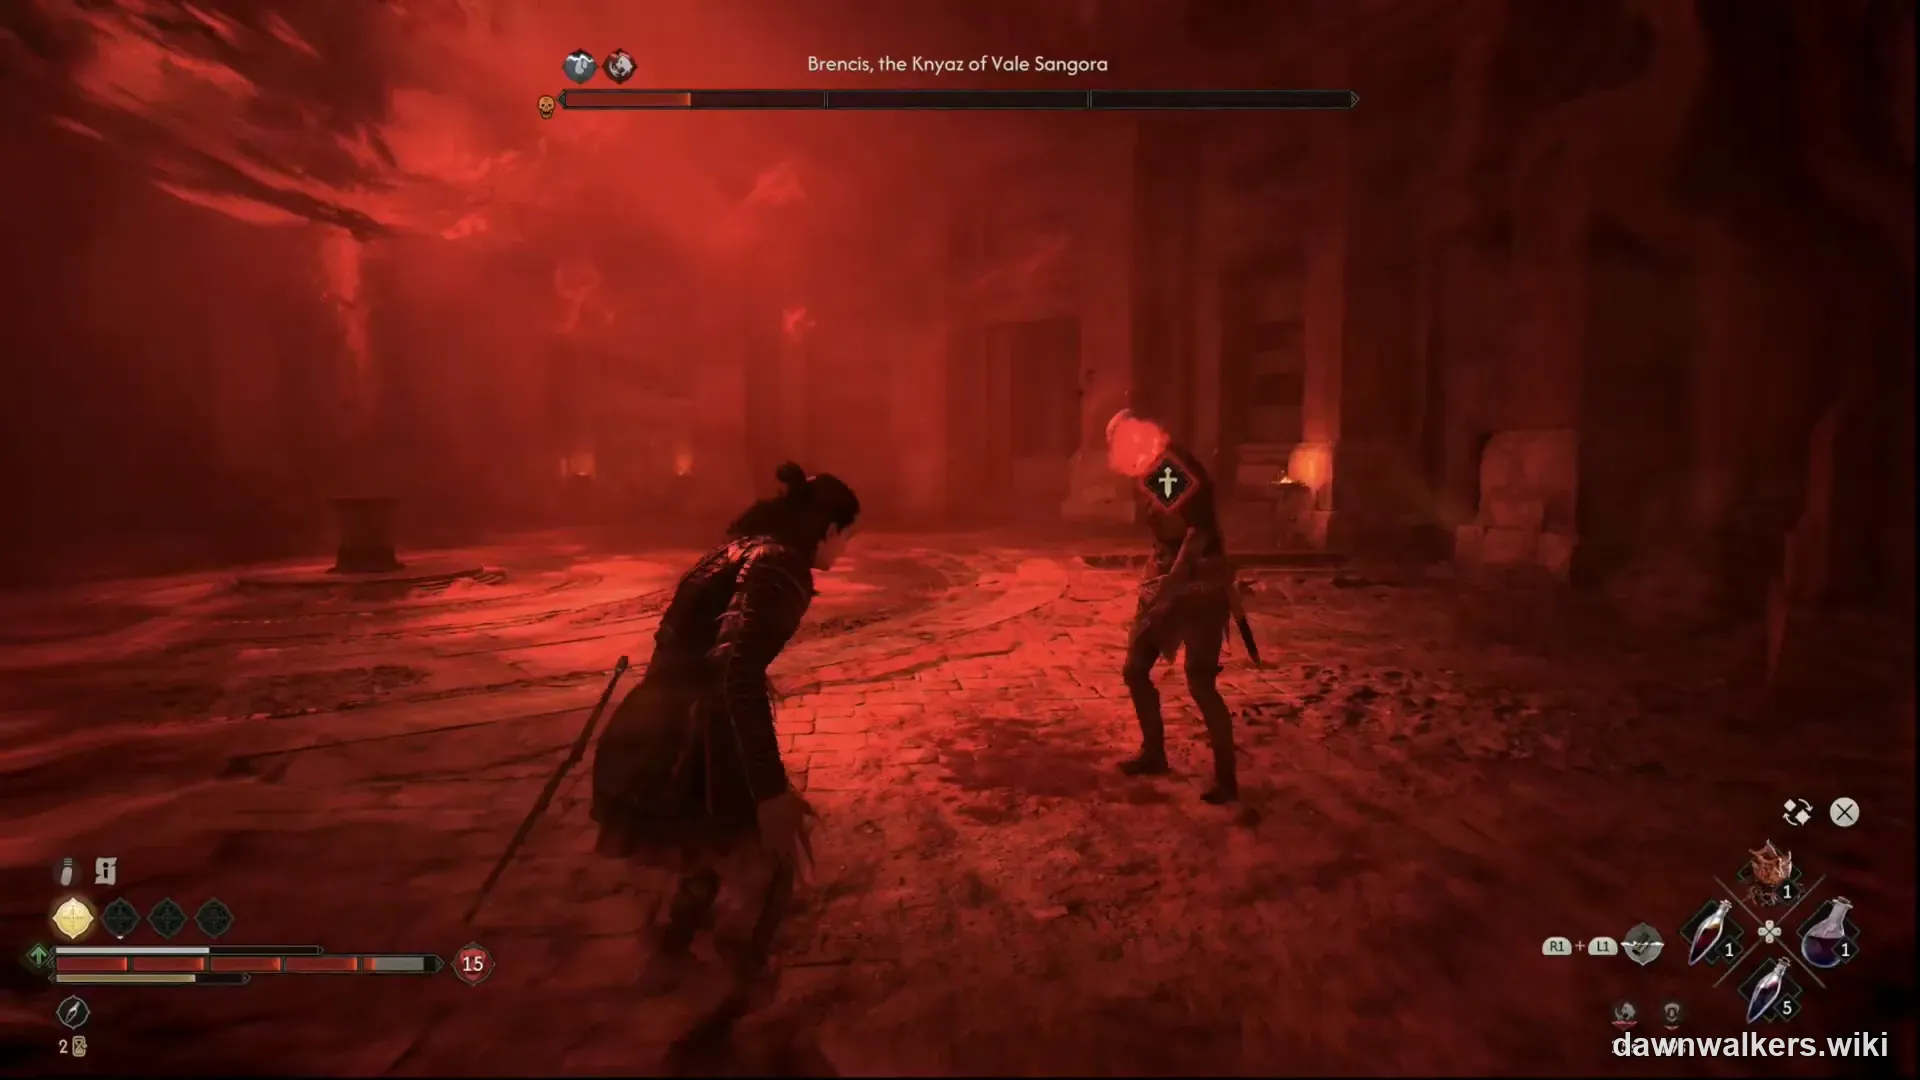
Every dangerous attack in Phase 1 is marked before it lands: shield mark means parry, skull mark means dodge. Reading the mark — not reacting to the animation — is the core habit of this fight, and it carries straight into Phase 2.
Clear the red wraiths first
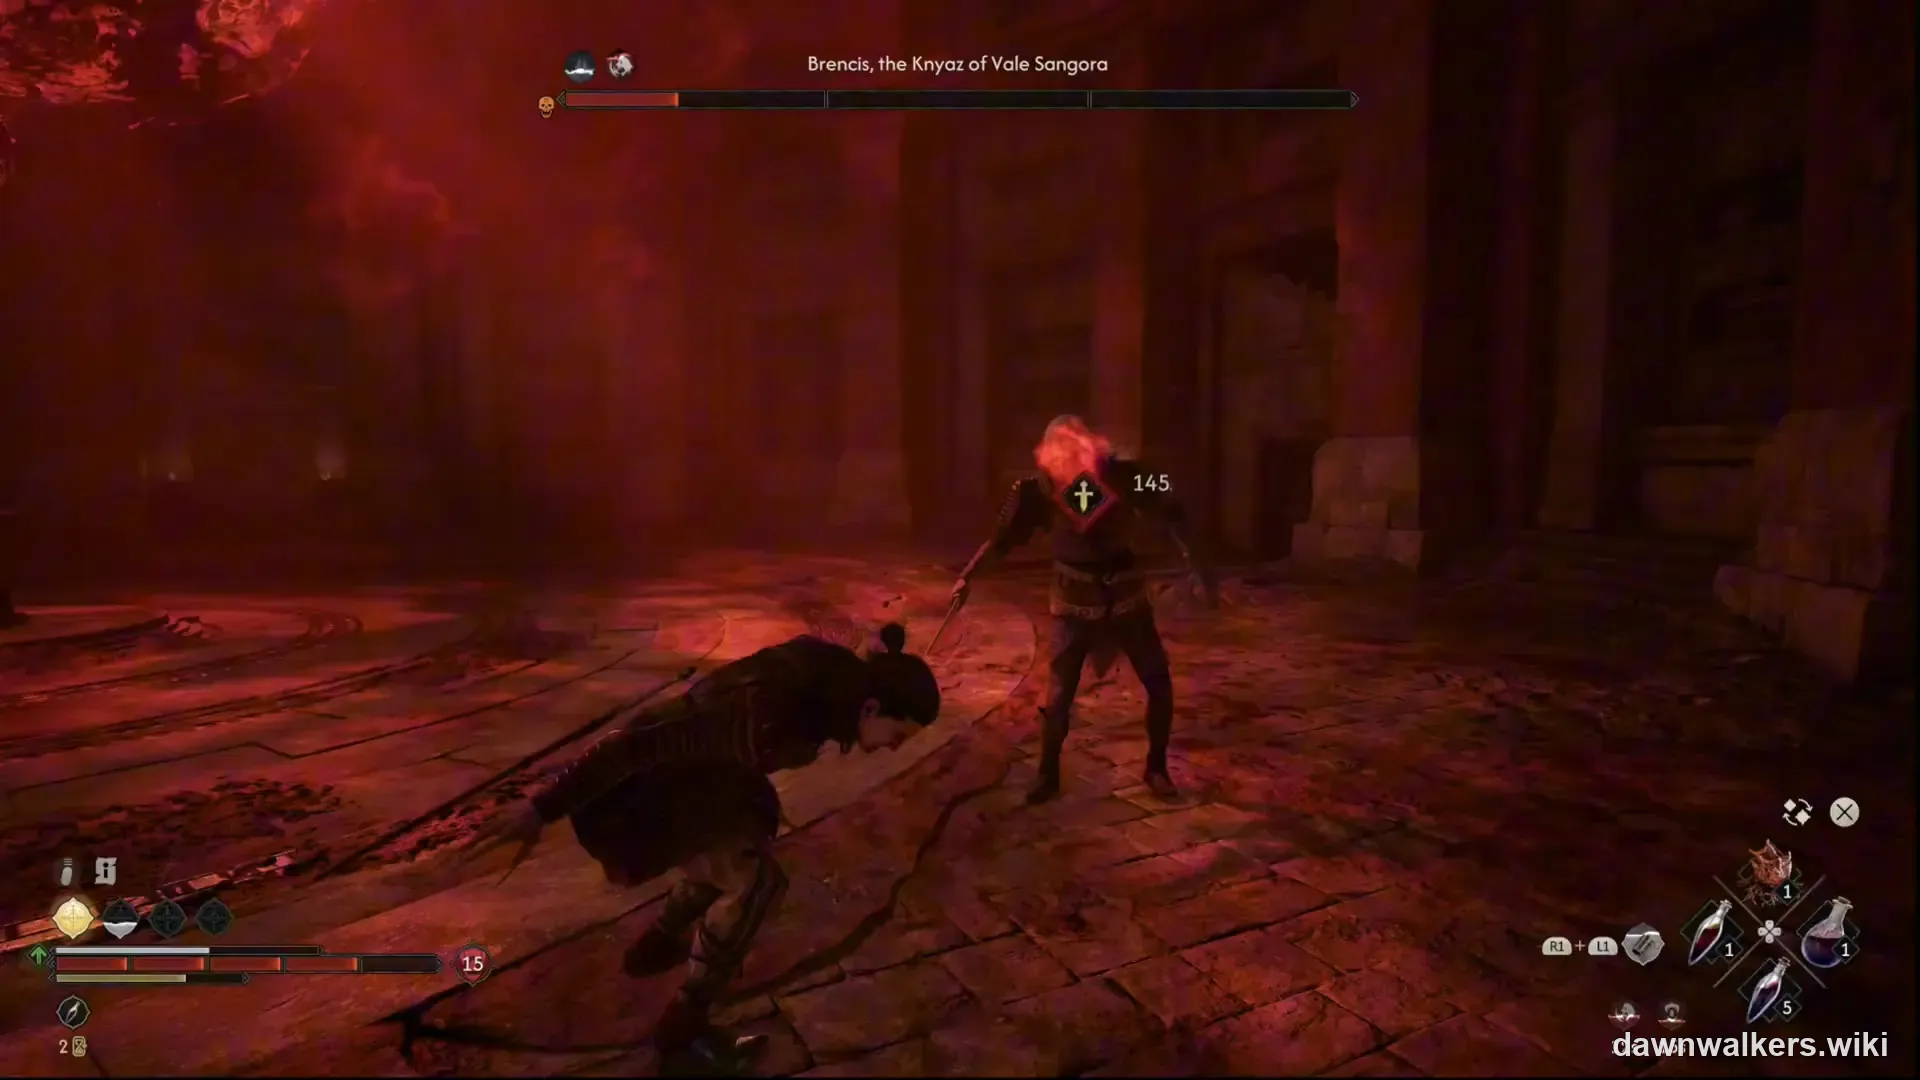
Brencis summons red wraiths repeatedly while attacking. If you ignore them and tunnel on the Knyaz, you end up surrounded — spend the opening clearing the adds, then trade with Brencis using the mark system.
Survive the Anachora shift
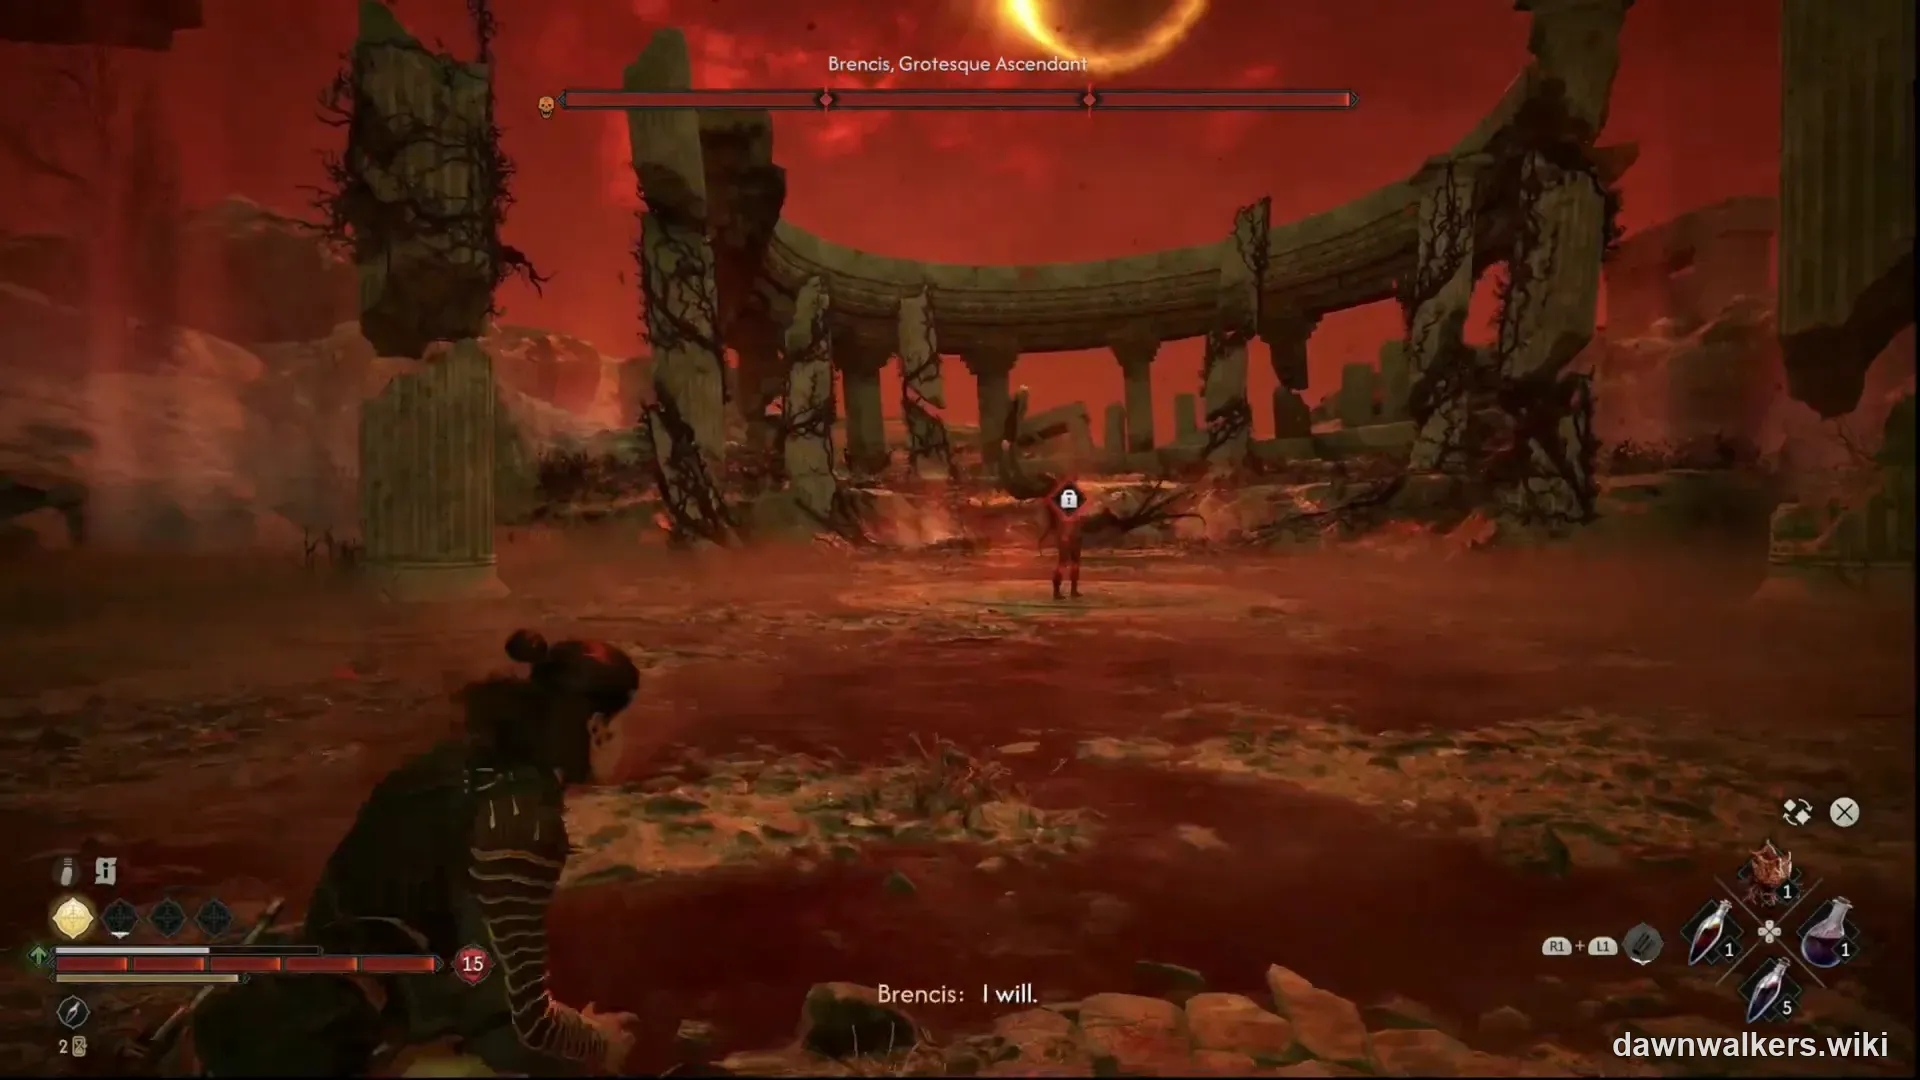
When his first HP bar empties, a cutscene teleports you to Anachora for Phase 2 — solo, against a healed, faster Grotesque Ascendant. Nothing you do in Phase 1 carries over except your own build, so treat Phase 1 as the stamina test and save your consumables.
Brencis fight video
Brencis moves and counters
| Move / element | What it does | Counter |
|---|---|---|
| Red wraith summons (Phase 1) | Brencis summons red wraiths repeatedly while he attacks. | Clear the wraiths first (prevents being surrounded), then focus Brencis. |
| Shield-marked attacks | Melee attacks marked with a shield icon before they land. | Parry. |
| Skull-marked attacks | Attacks marked with a skull icon before they land. | Dodge. |
| First HP bar empty | A cutscene teleports you to Anachora and starts Phase 2. | Nothing to dodge — reset expectations: solo fight, new move set. |
| Grotesque Ascendant move set (Phase 2) | New, more aggressive moves; the boss heals significantly between phases. | Solo execution test — apply the mark system without allies. |
Phase 1 — Knyaz of Vale Sangora (Greifberg Castle)
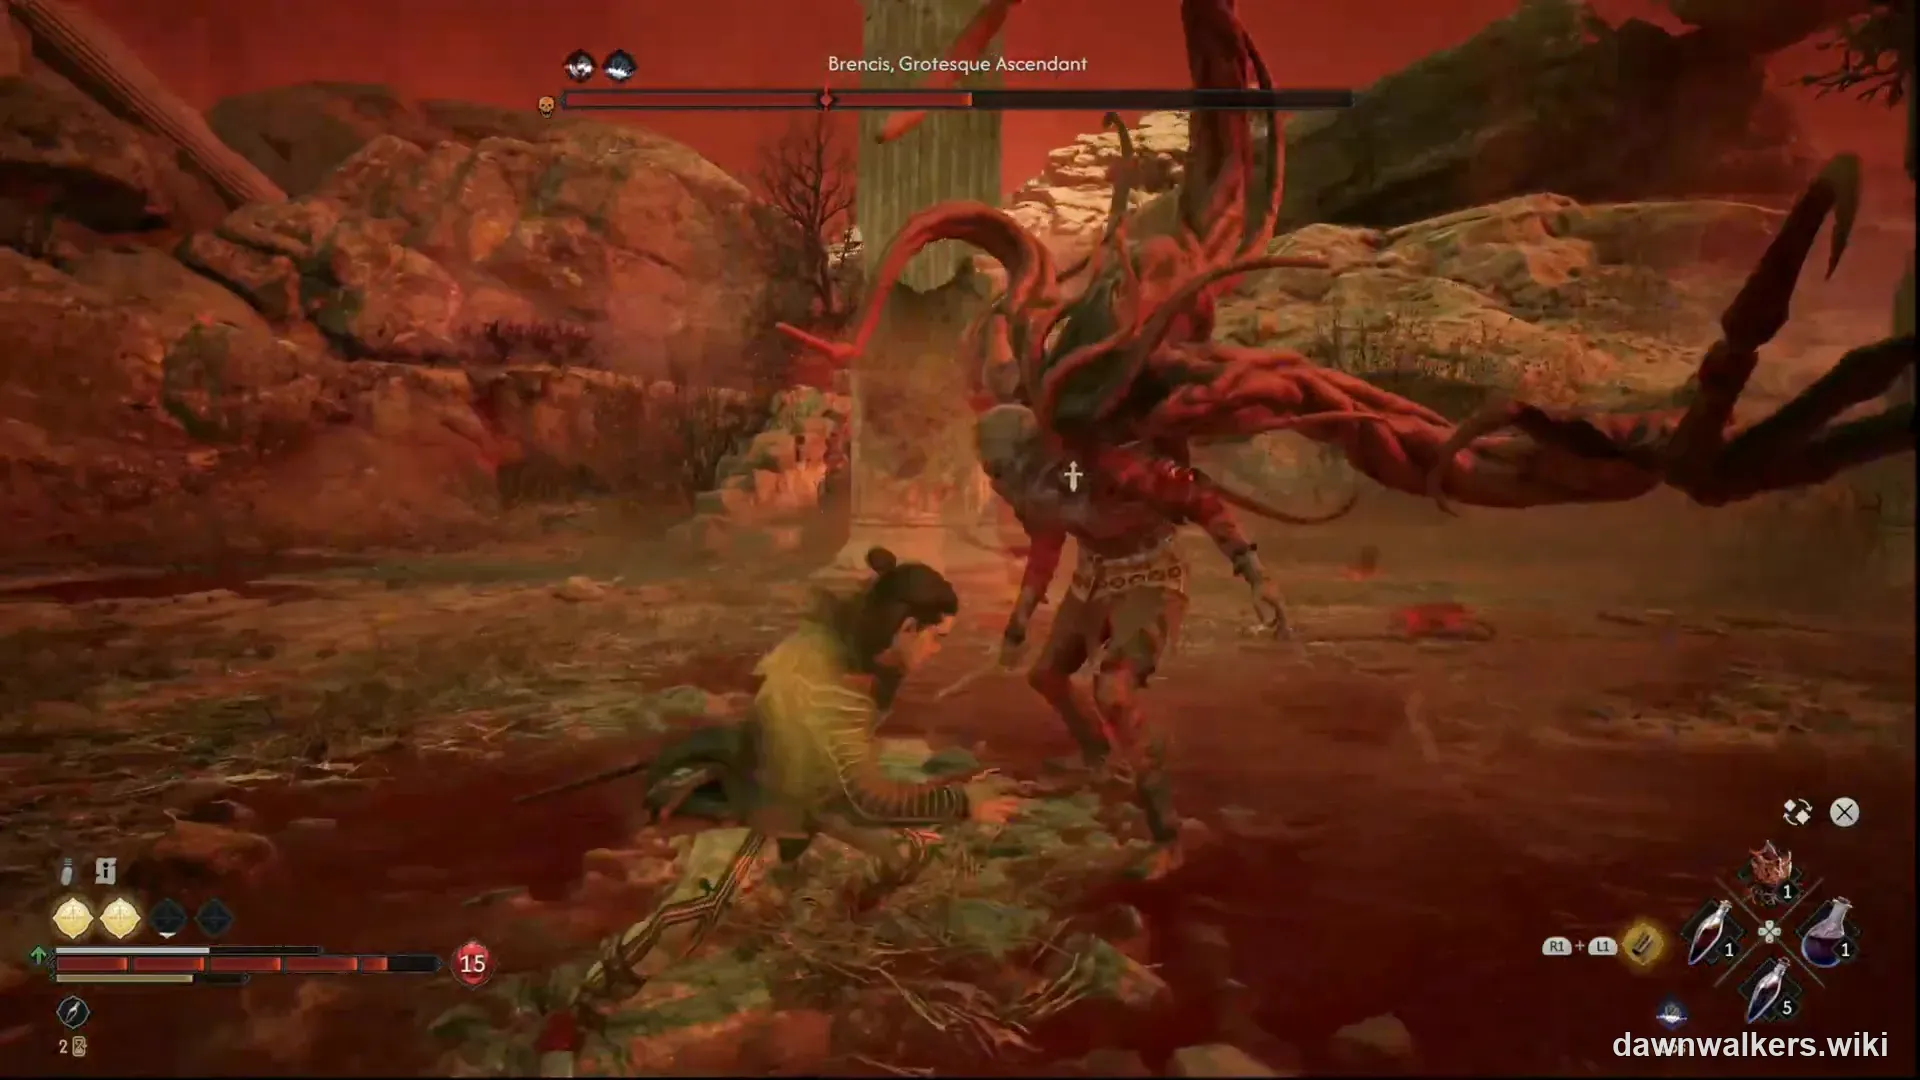
The fight is a crowd fight disguised as a duel. The wraiths harass from the flanks; if you ignore them while focusing Brencis, you end up surrounded. Spend the opening clearing them, then trade with the Knyaz using the mark system: shield mark means parry, skull mark means dodge. When his first HP bar empties, a cutscene teleports you to Anachora.
Phase 2 — Grotesque Ascendant (Anachora)
Phase 2 is where the fight turns from a crowd control problem into a pure execution test. The move set is different, the aggression is higher, and you have no backup. Phase 1 is the stamina test; Phase 2 is the execution.
What happens after you win
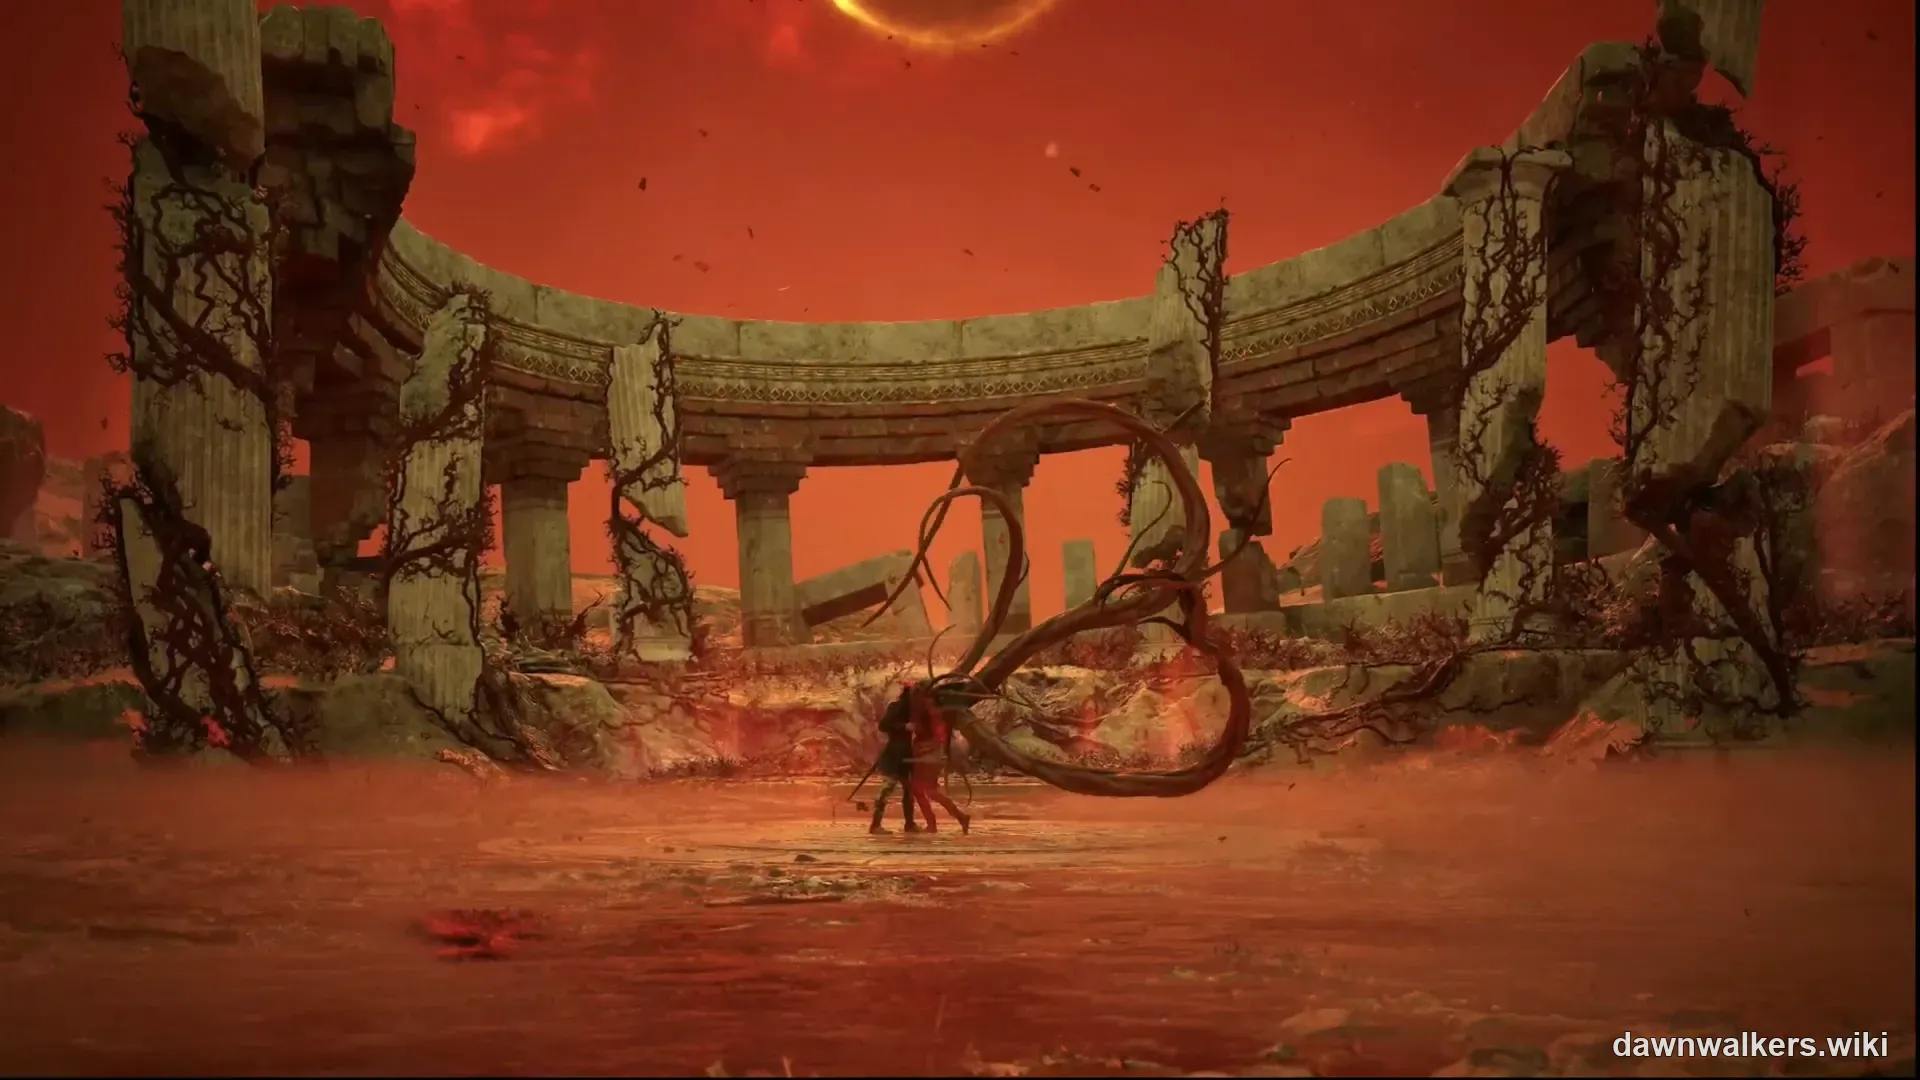
The victory here is the combat close to the run, but the ending itself is picked in the final-quest dialogue (A Deal with the Devil), alongside which ally chains you completed and whether the 30-day window has expired. Winning the fight does not lock a specific ending — the all endings guide and the key choice timeline are the references for what each ending requires.